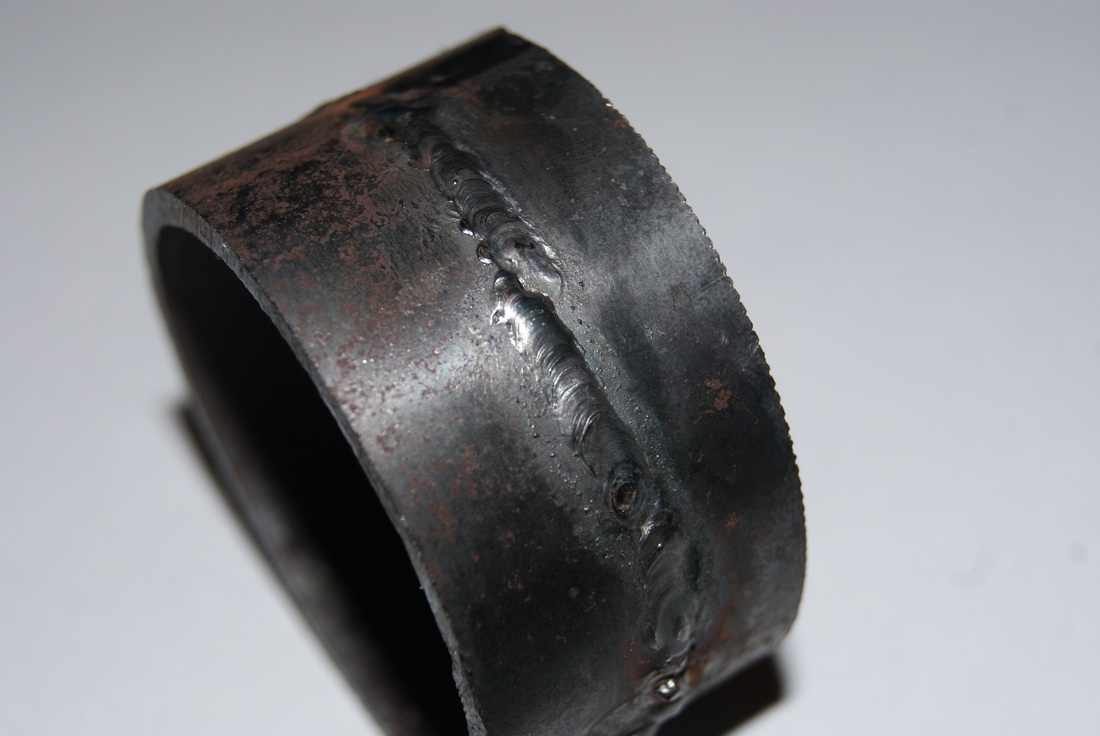
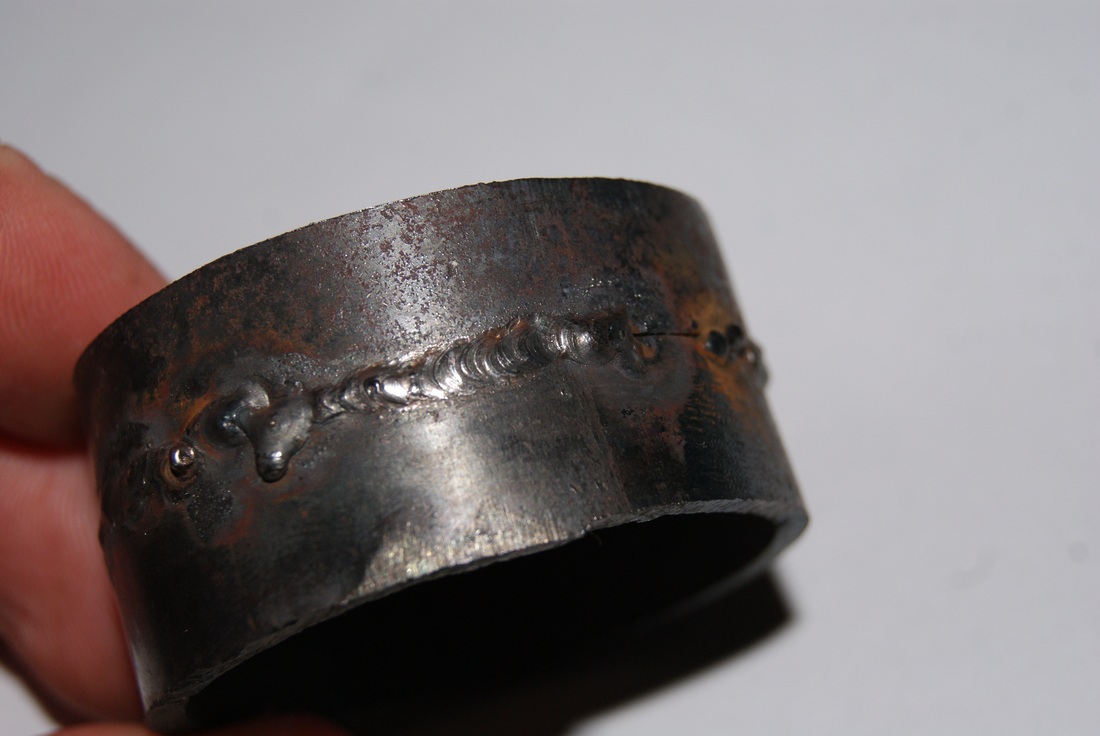
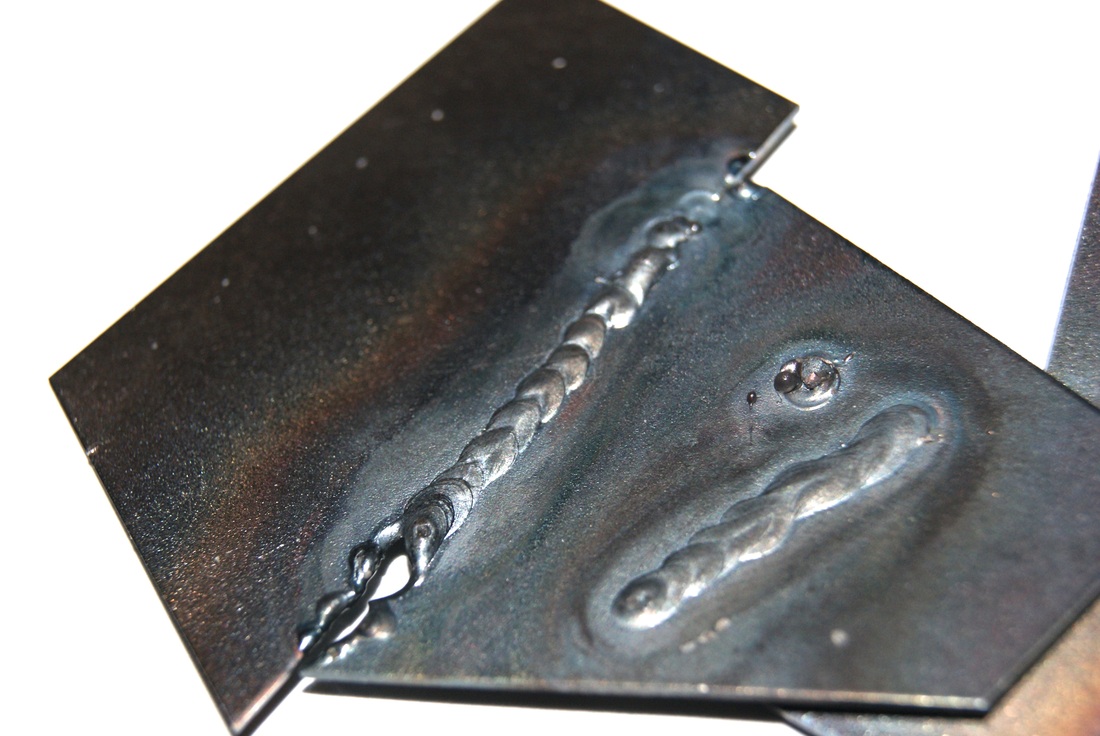
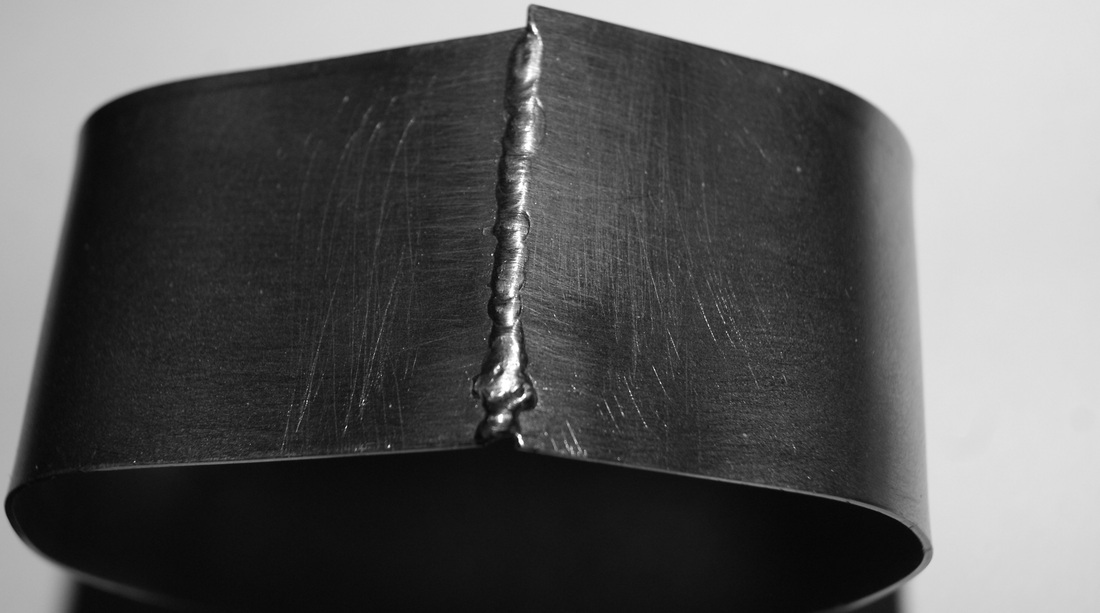
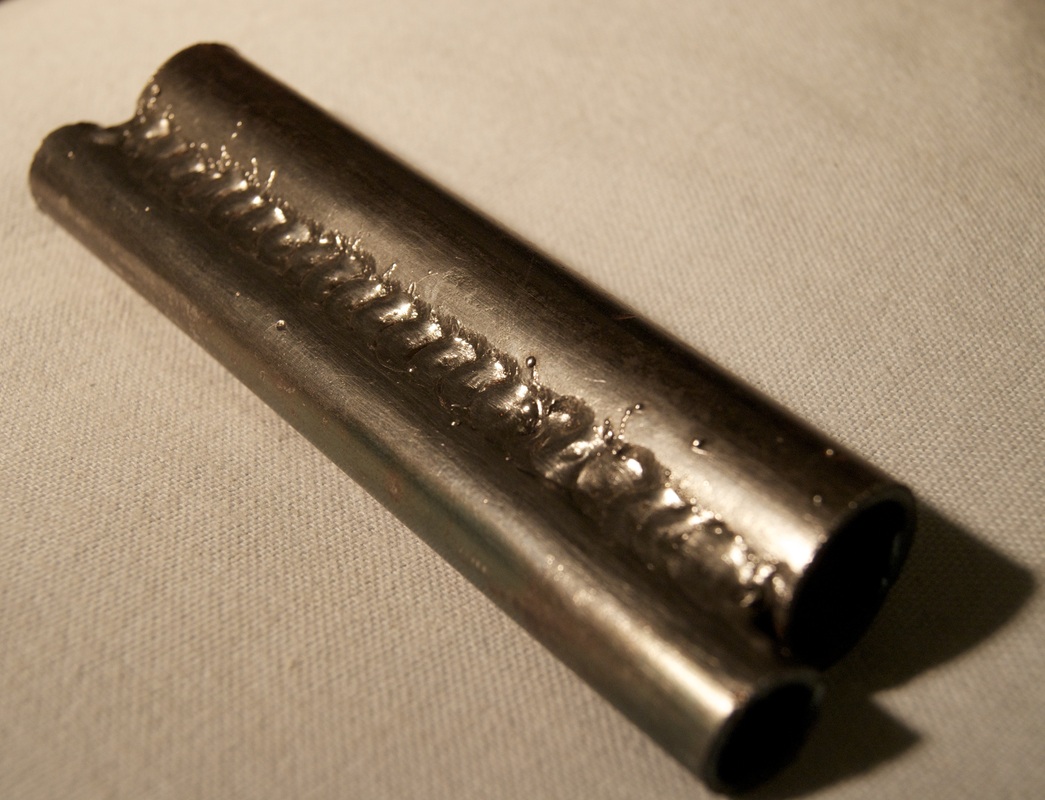
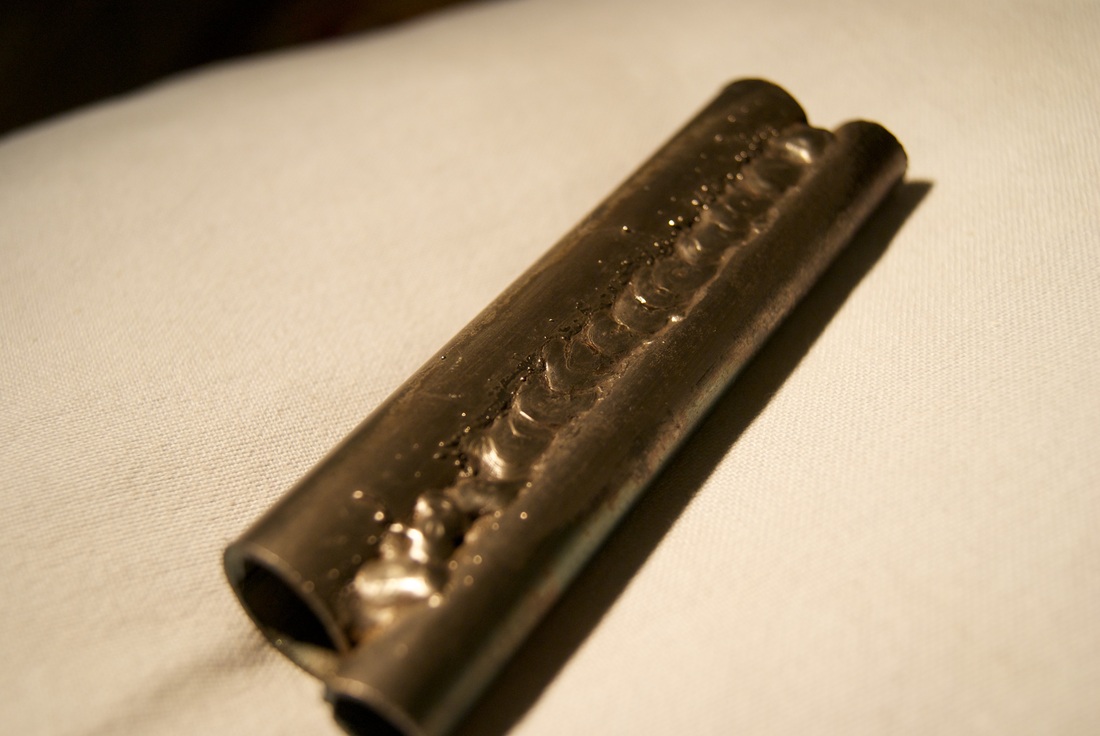
My first session at TIG (Tungsten Inert Gas) welding went pretty well today i feel. These pieces are the select few that made the cut from many many bits of scrap i practiced on. After a good enjoyable 6 hours in the workshop Tigging about, i'm starting to learn the process a tad better. About 90 percent of the bits i tried today were butt joints like the ones you can see. A few lap joints and some tube to sheet welds are in order, it will get me used to how to angle the welding torch and where to put the heat. Then onto aluminium when i feel compitant.
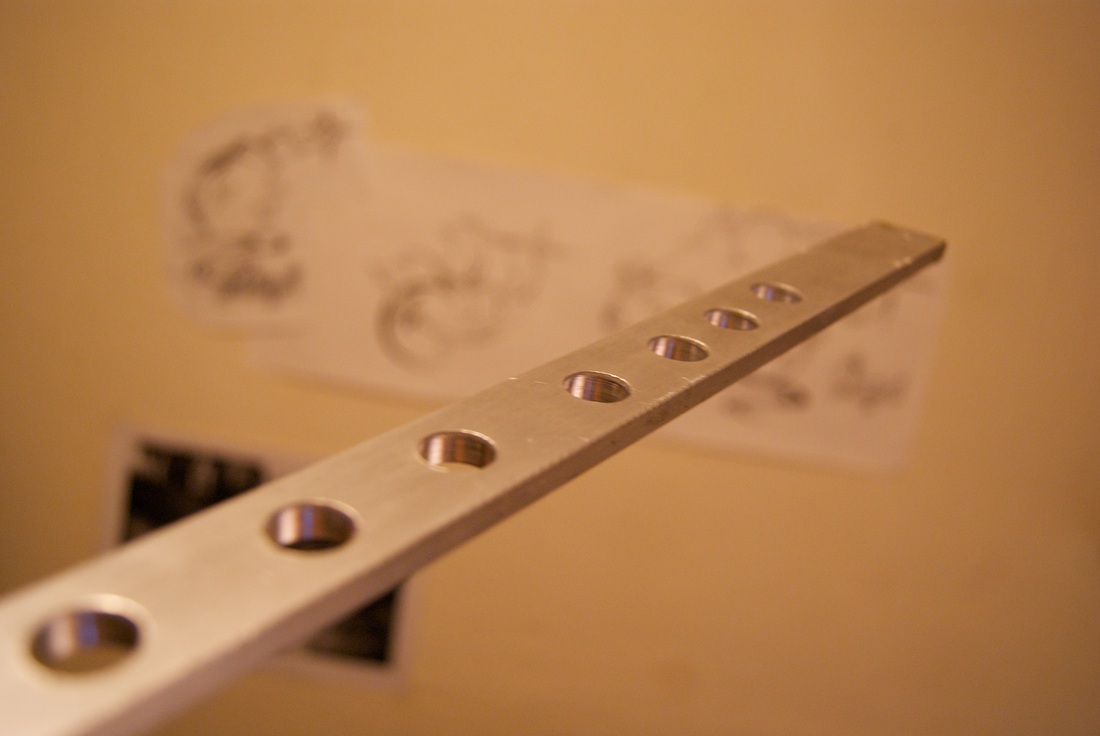
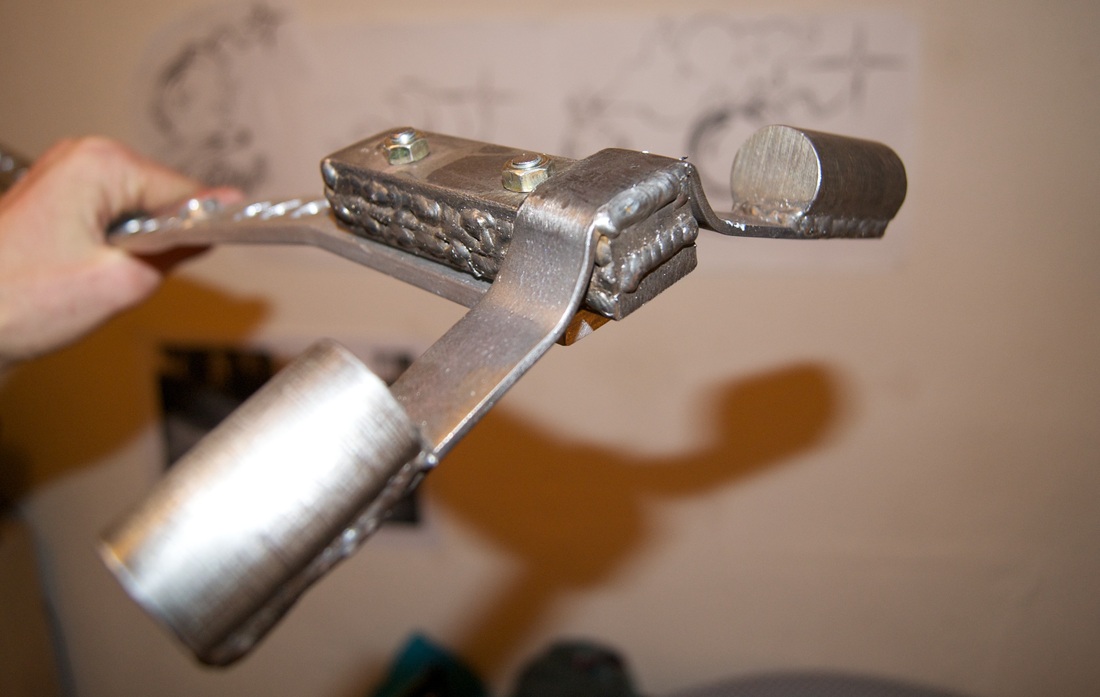
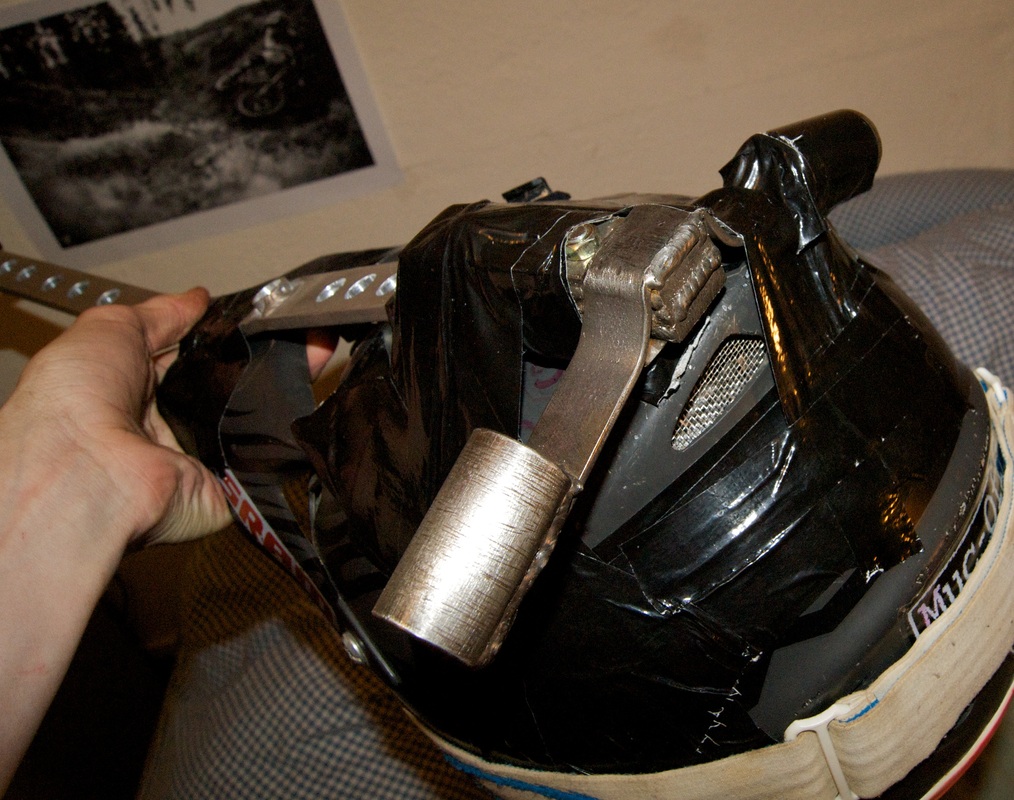
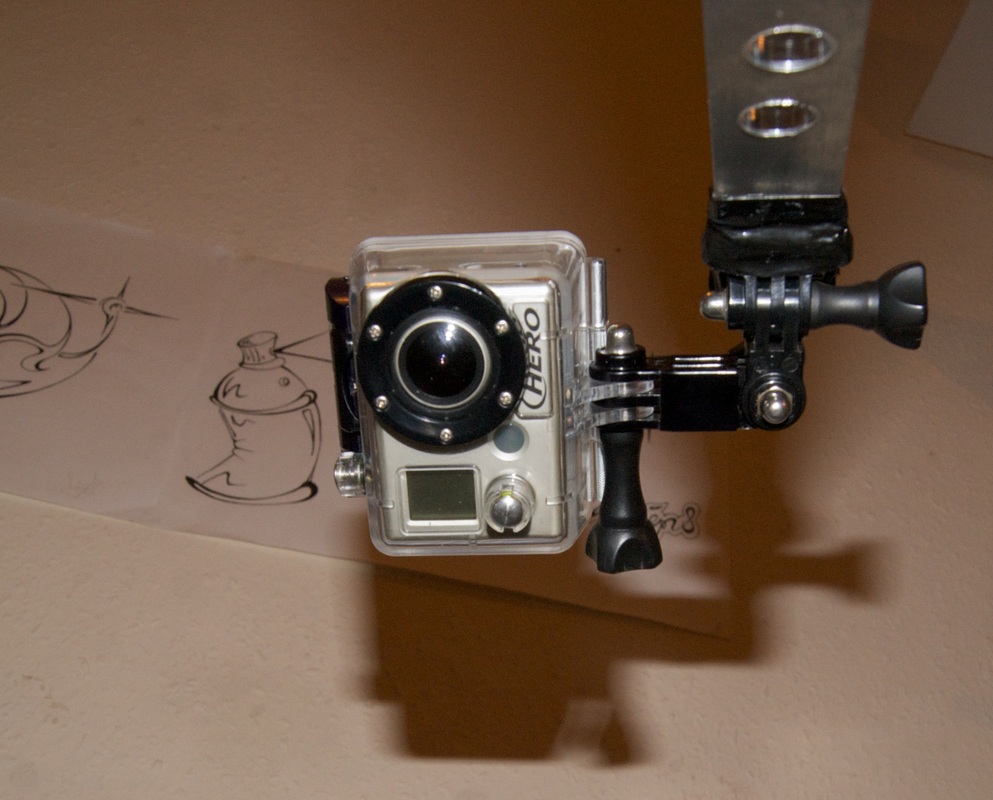
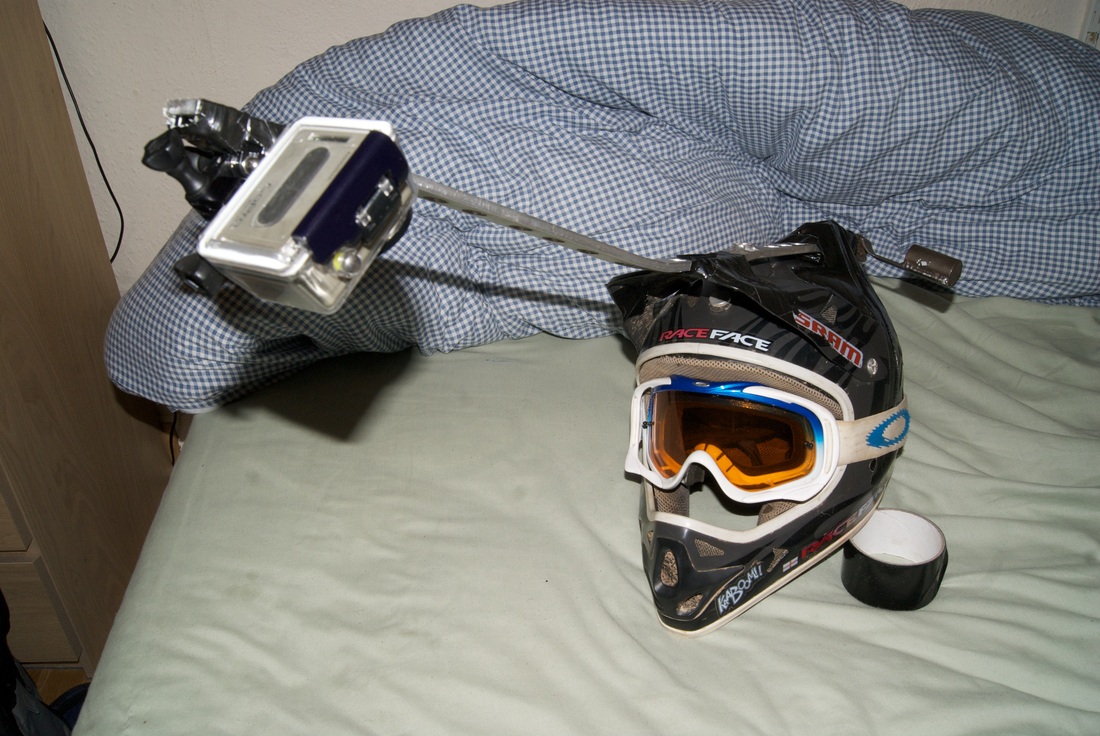
 The term Drillium comes from the 70s in cycling when parts would be drilled to excessive lengths to save weight. This is an update of the "unicorn cam" from my first entry, the extra holes should save my neck a little bit from not needing as much weight countering on the back/ other end of the bar. The bar is surprisingly still as structurally sound as before, fingers crossed it holds up on the trails.
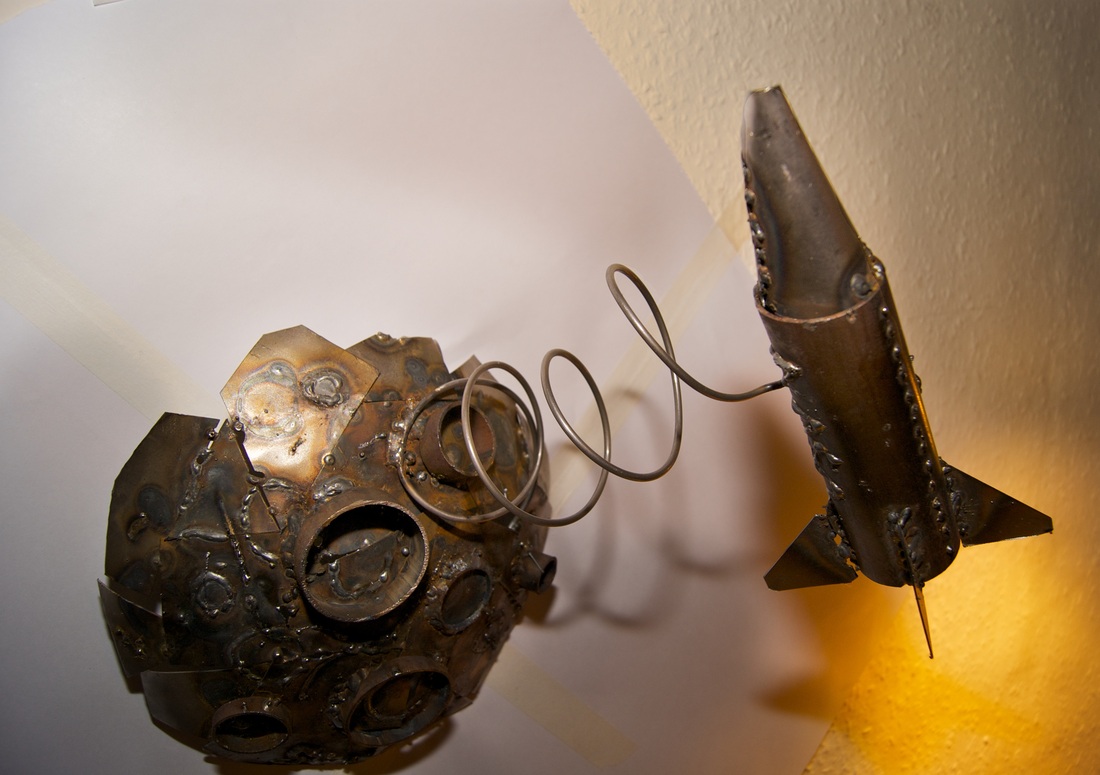 This is what happened in the workshop today, thought it would would be a cool idea to make a little spaceship, bit childish but it escalated quickly. Now i have a wall piece from an accident. Might start selling if i get enough interest. There are more photos in my portfolio section. /spaceship-wall-piece.html
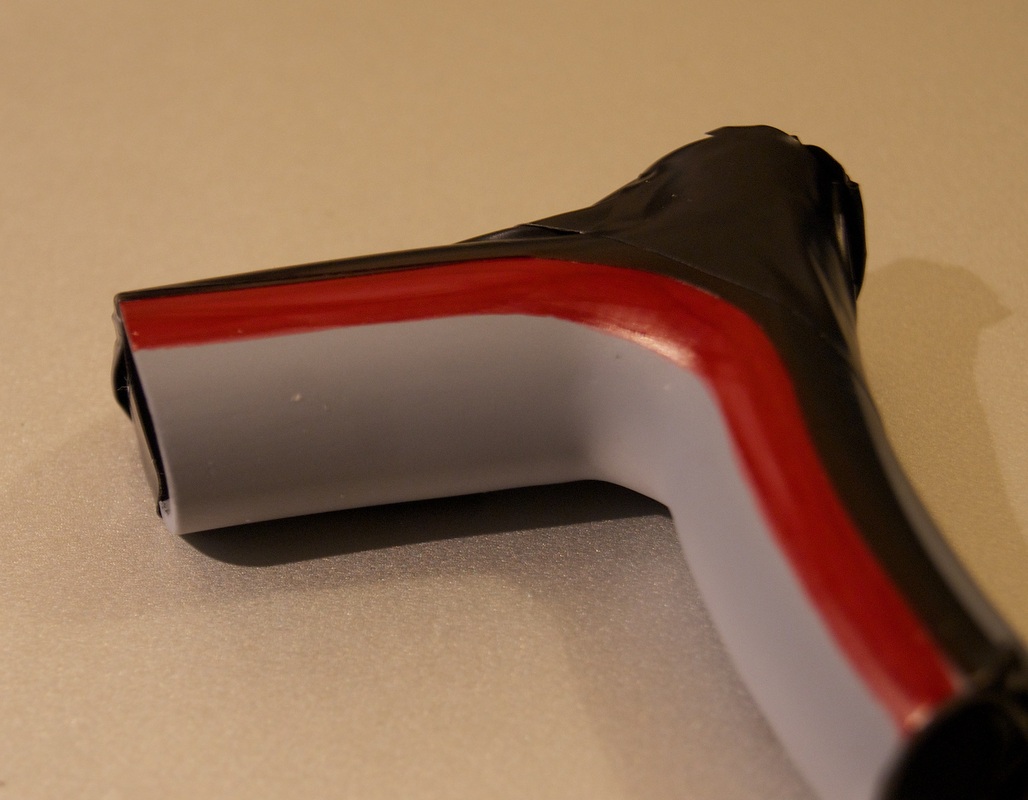
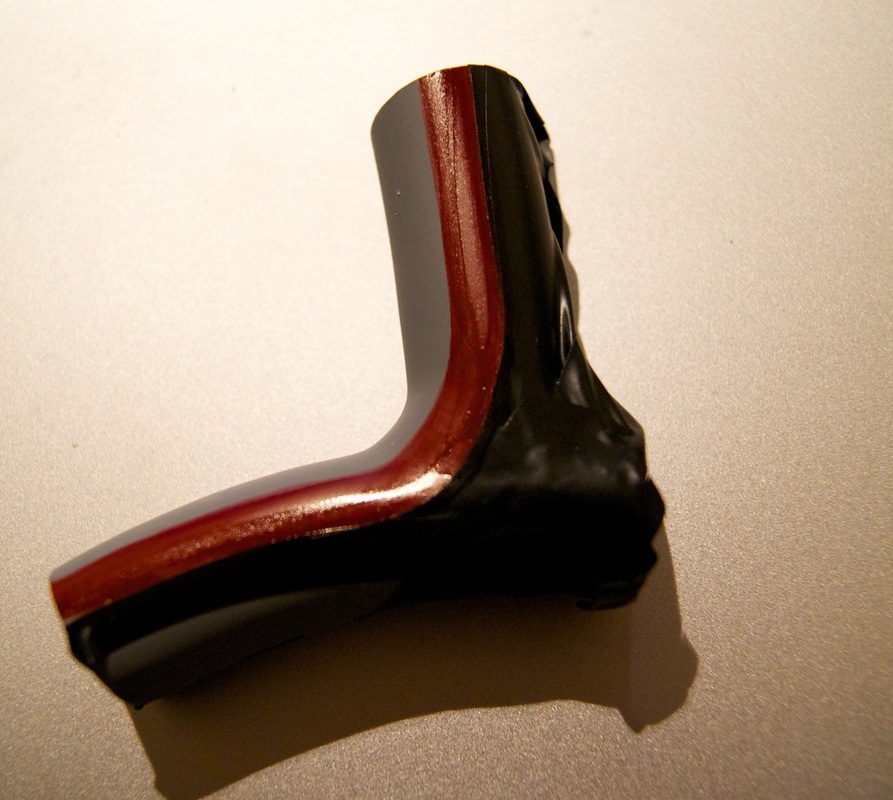
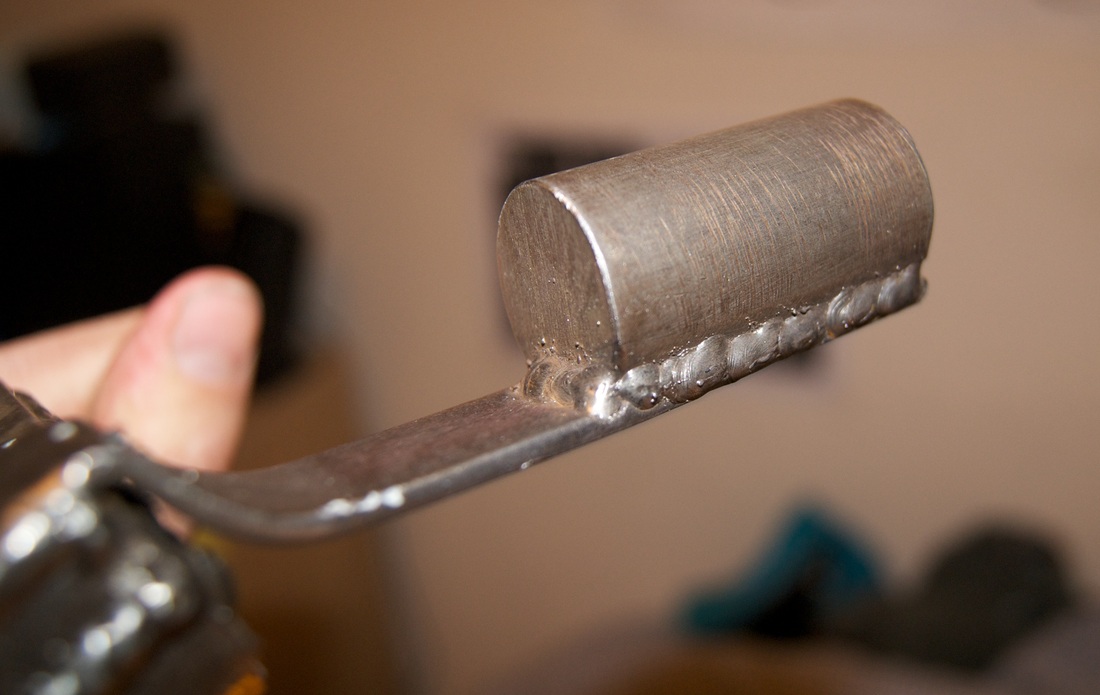
I thought i would upload this piece. Just some more practice at MIG welding, i've a long way to go until i get it a lot neater but slowly learning the ways of pooling and looping. I figured i need to keep it straighter amongst other things. The first two pics are of tac welding (not sure if thats the right term) and the second two of my looping attempts. The wire brush does a nice job giving it a satin sheen, nice and quick too. Just a little experiment for the latest Uni project, "furniture for a fiver". With electrical tape to mask off the area, i got some grey primer i had left over, sprayed it on then added copic pen on top when it was dry. As you can see its a little brazed up joint with quite a large fillet to get a nice large, smooth curve on the joint. 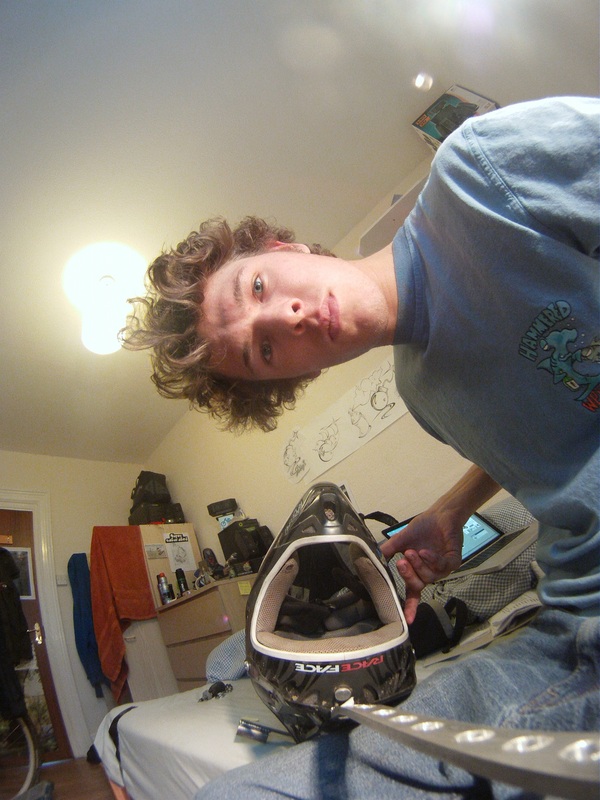 Fixing it in place. Footage below. I've always wanted to make one of these, with borrowing a Go pro and having a free day i jumped to it and got into the Uni metal workshop. The main beam is some scrap aluminium which is 700mm long and 6mm thick, its got about 20, 10mm holes drilled in it to save weight too, ;) . At the other end we have some hefty steel welded up to counter the weight of the GoPro on the end. I got a bit excited with the mig welder too as you can see. I would say the whole thing is under 1kg too. so its not too bad, but is a lil noticeable with it duct taped on. i had to add a slab (yes, Slab) of flat steel bar on the back to even it out too. The best thing of all was it didn't cost a penny. haha. I plan on drilling more holes into the main flat aluminium bar to lighten it even more so i don't have to add the extra steel on, looks like its back to the pillar drill. Here's how it came out. Enjoy. | What's on?Watch this space for new and exciting projects and see what i'm up to. ArchivesDecember 2013 Categories |


 RSS Feed